Sign-up and login in the Aindo platform
The quickest and recommended way to start using the Aindo platform is by logging-in with a social account. Alternatively, you can create a new account with an email address and password. If you already have an account, but you are having issues logging-in, you can find support in the login section.
Sign-up
To start using the Aindo platform, you can create an account using your email address and a password, or you can sign up quickly using a social account like Google or GitHub. Choose the method that suits you best and follow the steps outlined below.
Sign-up with email address and password
- From the login page, click on Create an account

- Insert an email address and choose a strong password. After confirmation, you will be asked to insert the verification code that was sent to your email address.

- Fill in the form with your name and company info.

- To finalize your registration, review the terms and conditions and accept the required ones. After doing so, you will be redirected to the main page of the platform.

Sign-up with a social account
Social Login, or Single-Sign On (SSO), is the quickest way to get started. The providers available depend on your deployment, and may include Google, GitHub, Microsoft (Entra ID), or a generic OpenID Connect (OIDC) provider configured by your organization. Depending on deployment conditions, SSO may not be available at all.
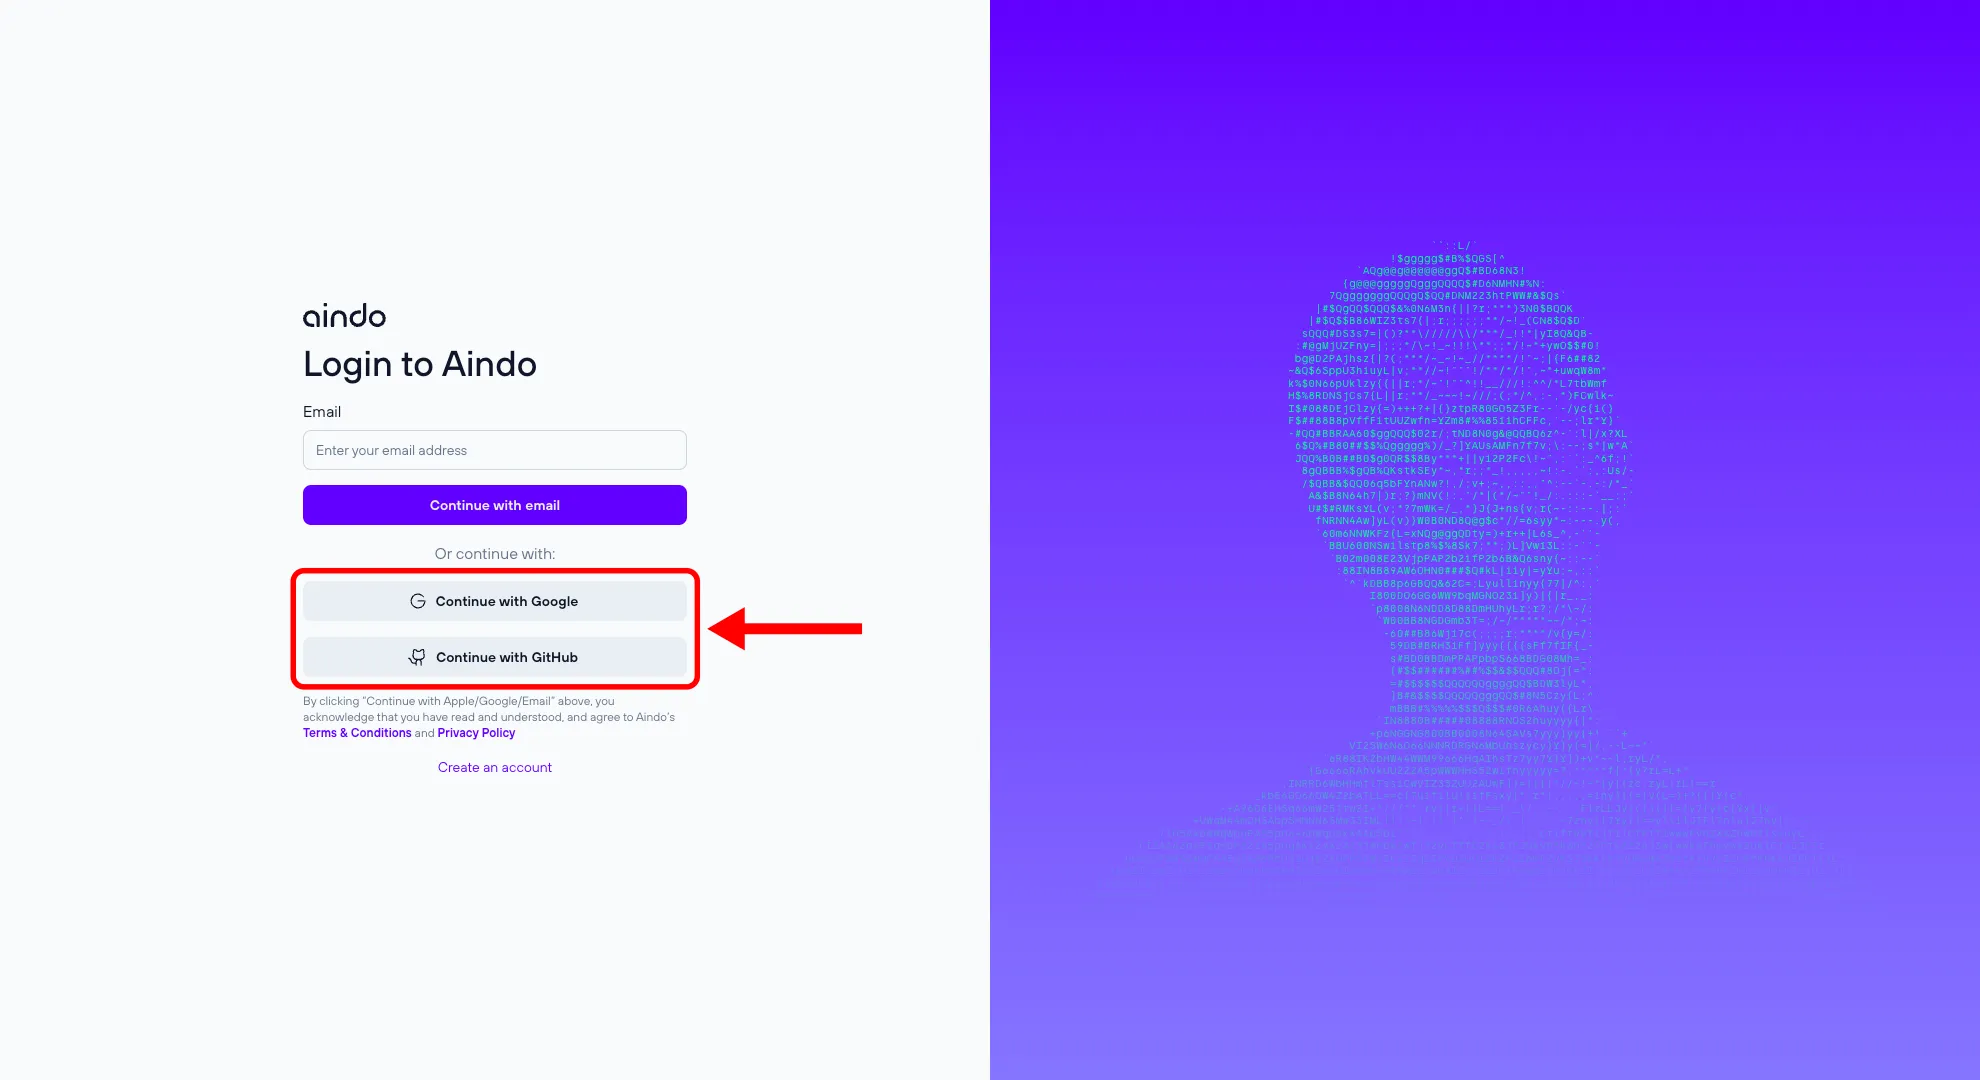
- From the login page, click the sign-in button for your preferred provider, for example Sign in with Google or Sign in with GitHub.
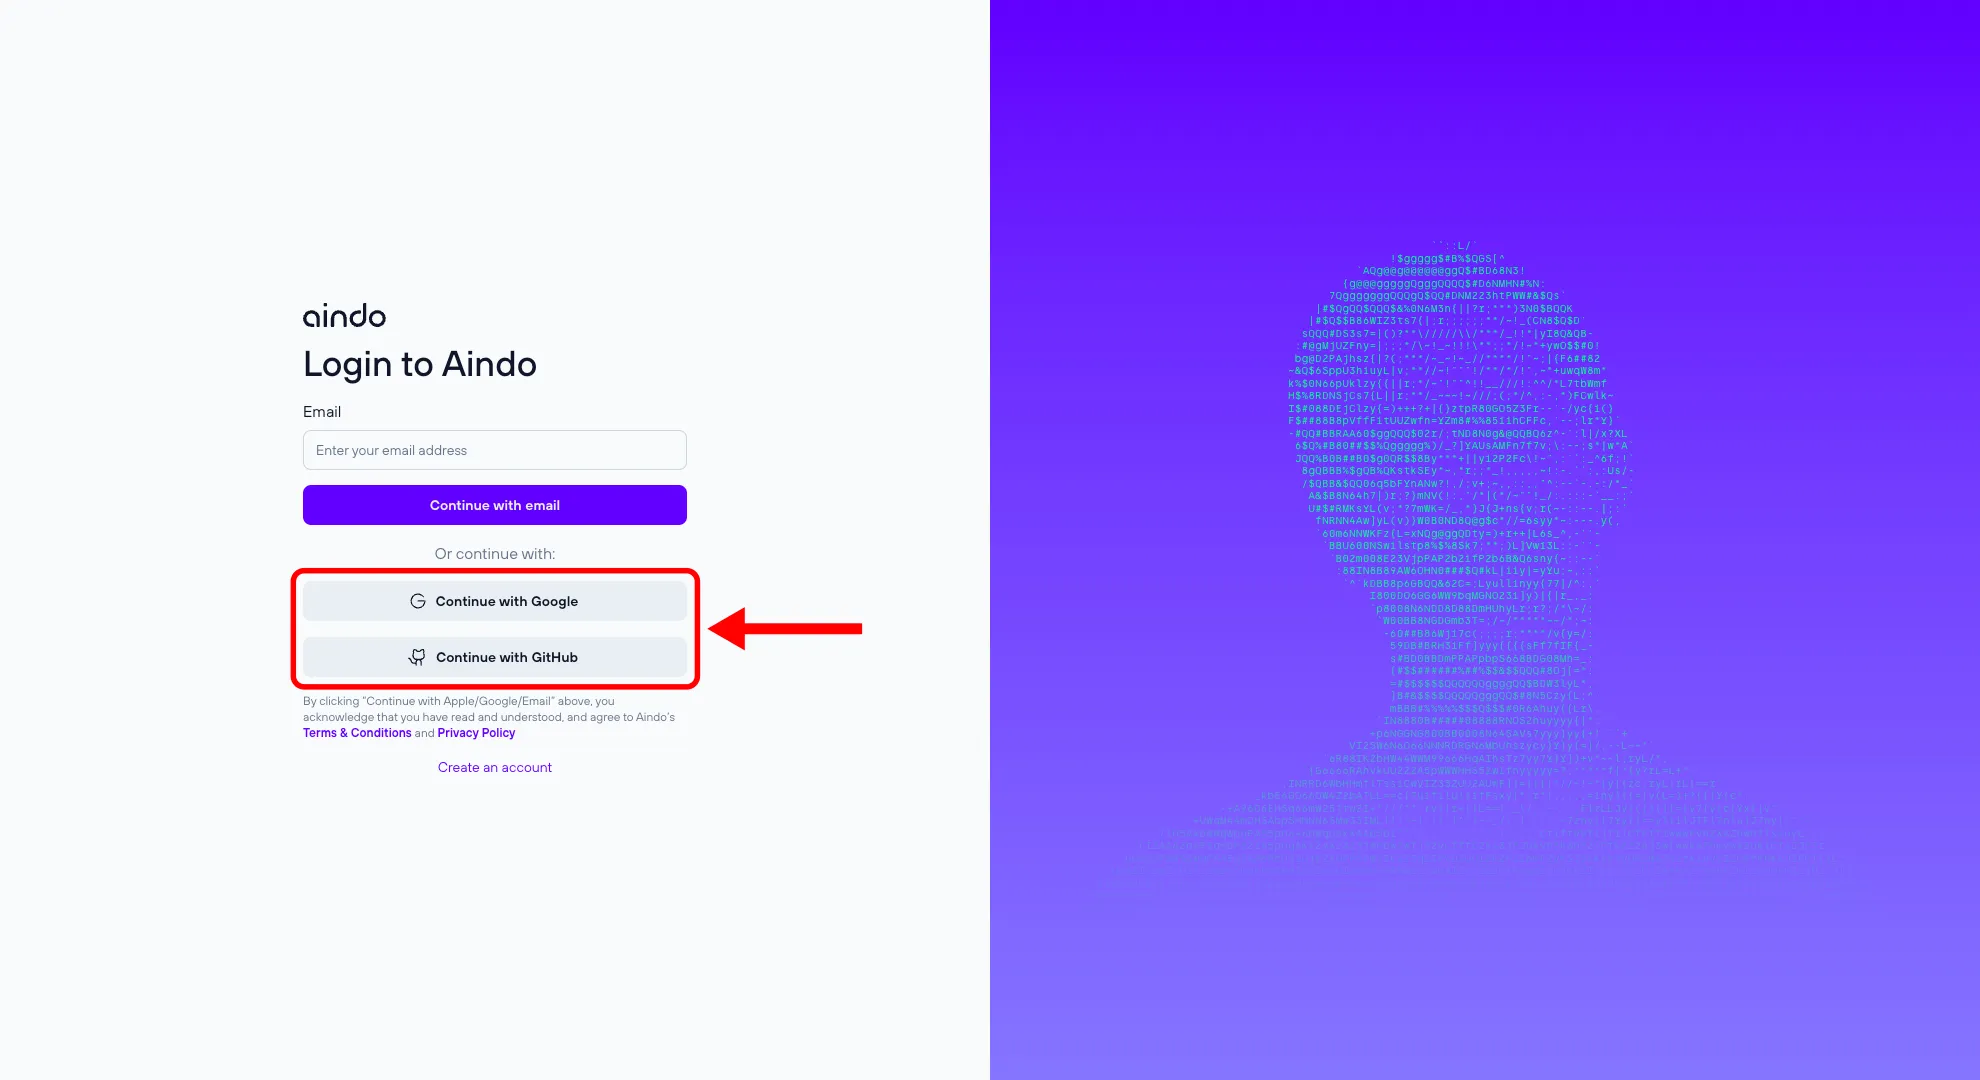
- You will be redirected to the login page of the provider, where you can insert your credentials. After that, you will be redirected back to the main login procedure of the Aindo platform.
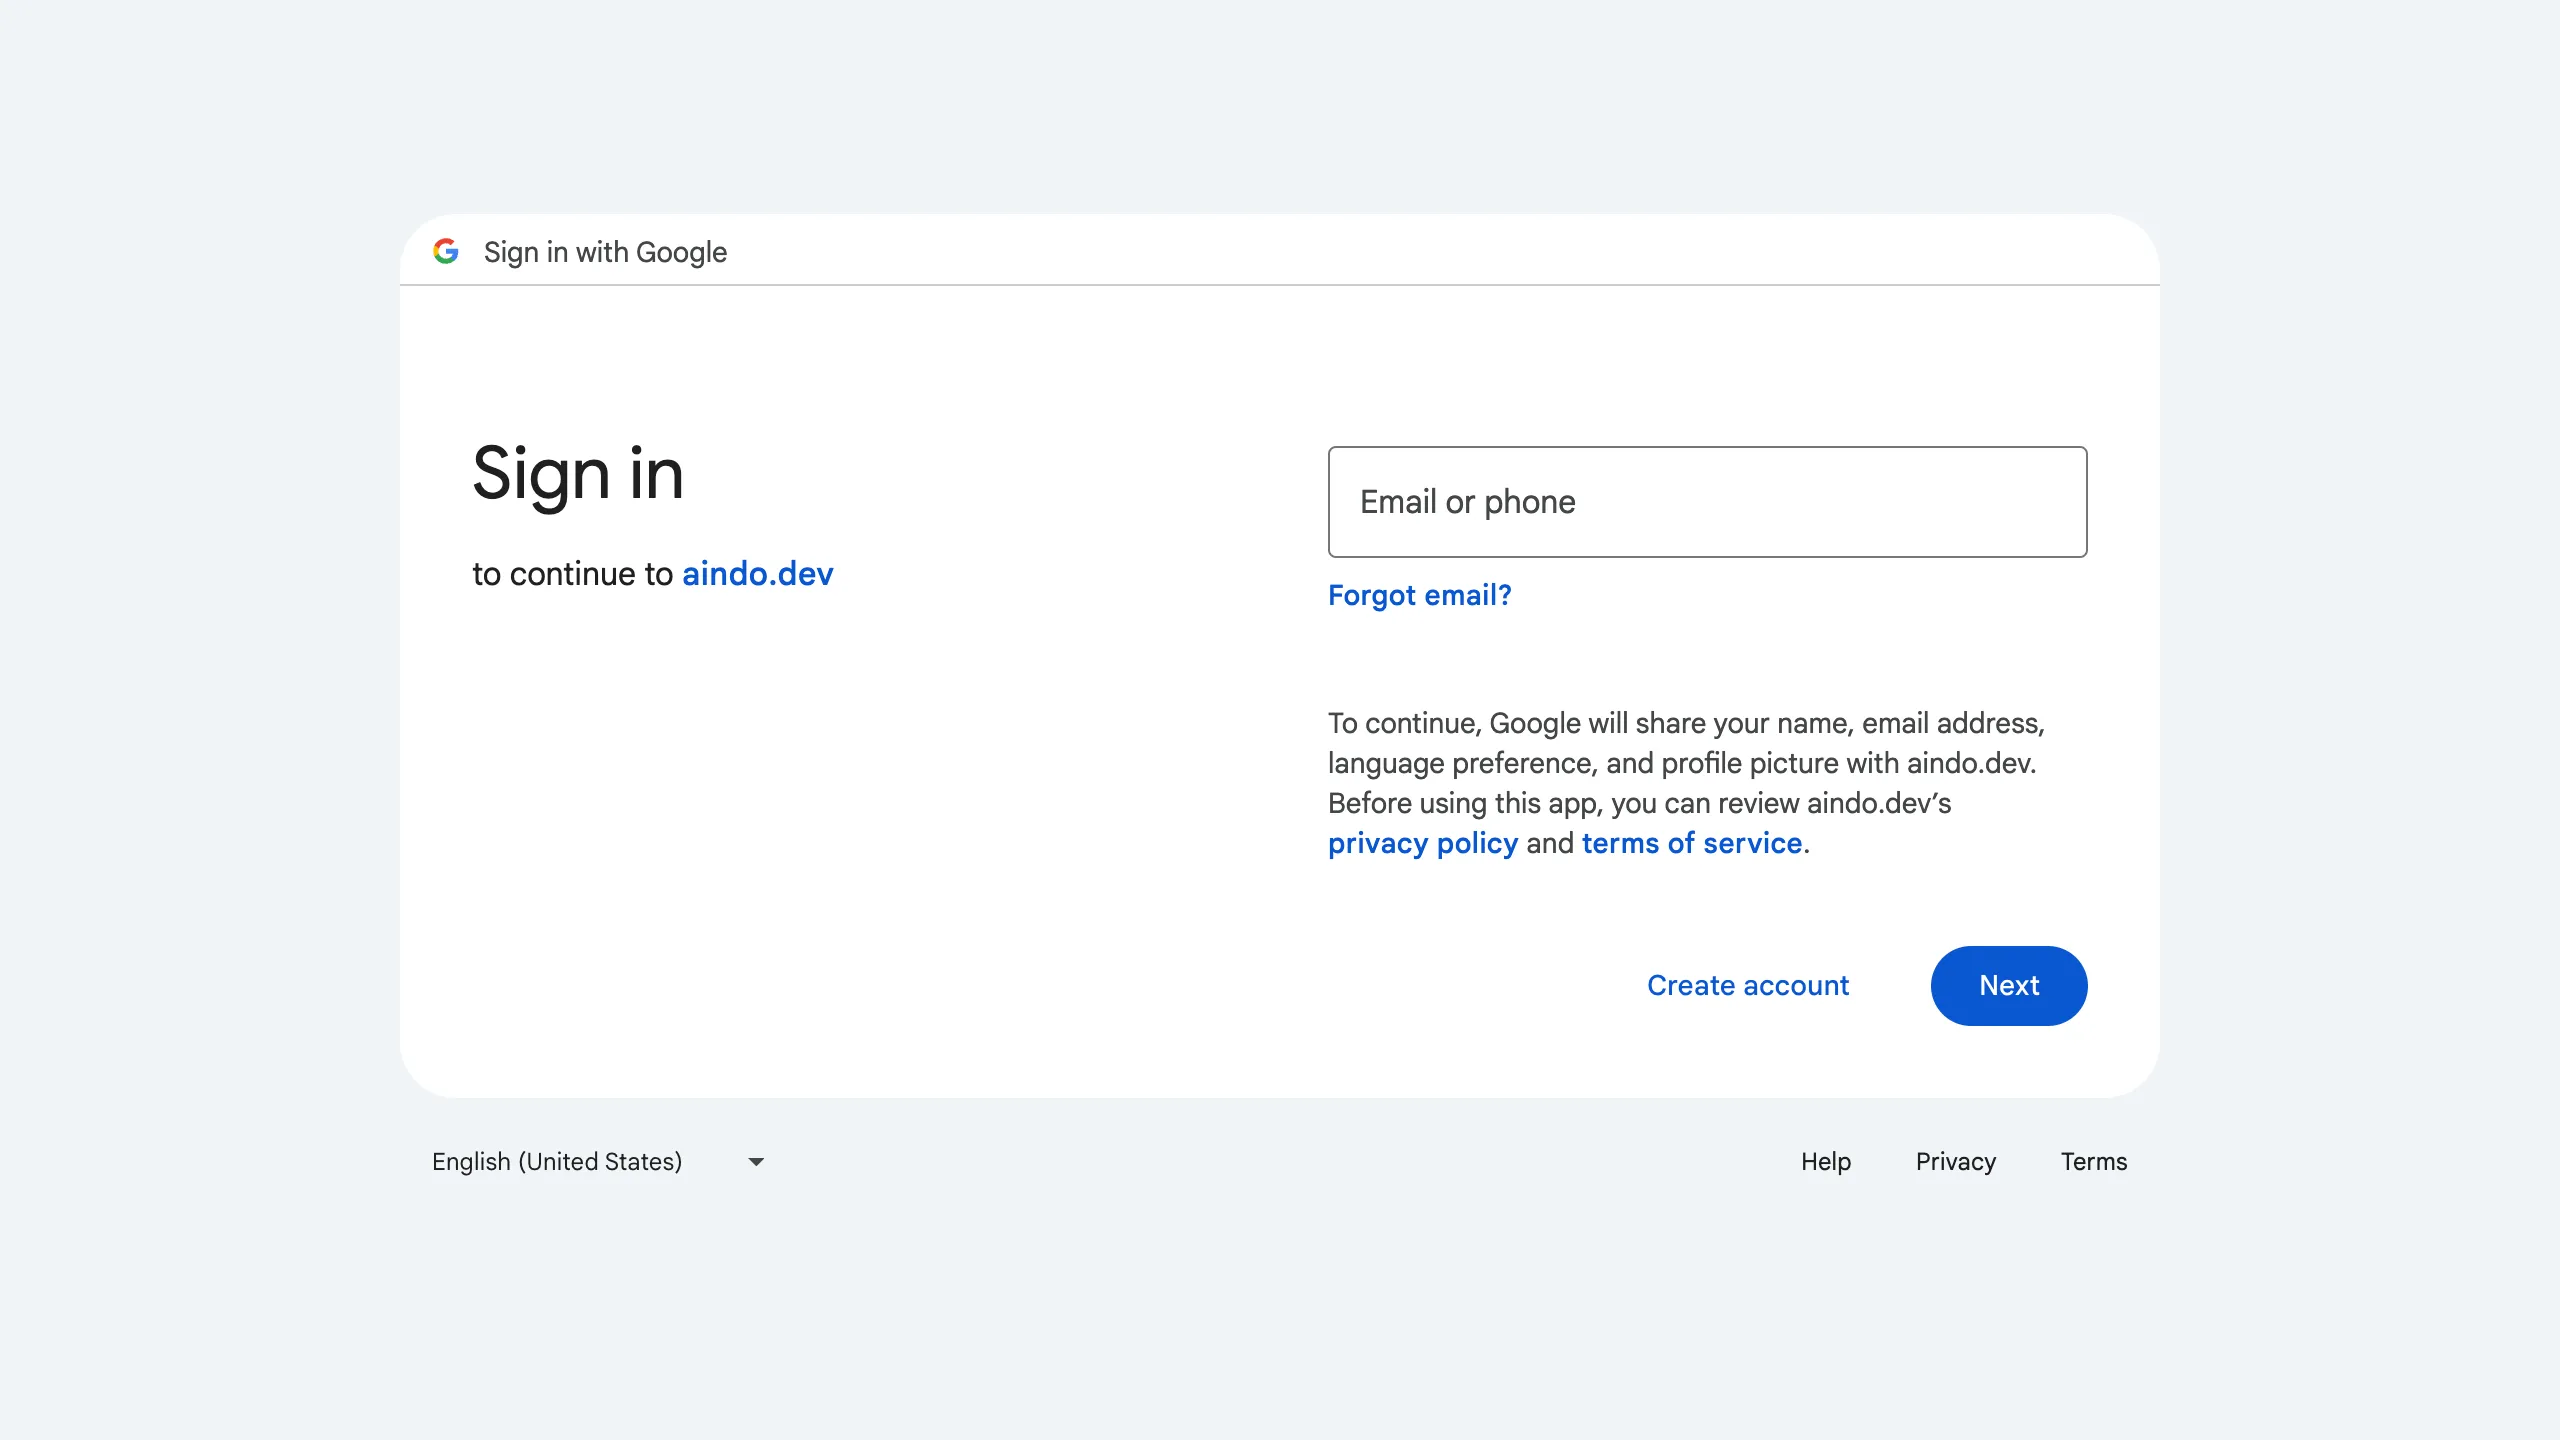
- You may be asked to provide us with some legally required info about yourself, like name and company.
- Review required terms and conditions, and you are done. You will be redirected to the home page of the Aindo platform.
Login
Once your account is created, you can login in the Aindo platform using the same authentication method that you chose during the sign-up process.
Login with email and password (or OTP)
From the login page, insert the same email and password chosen during the sign-up process.
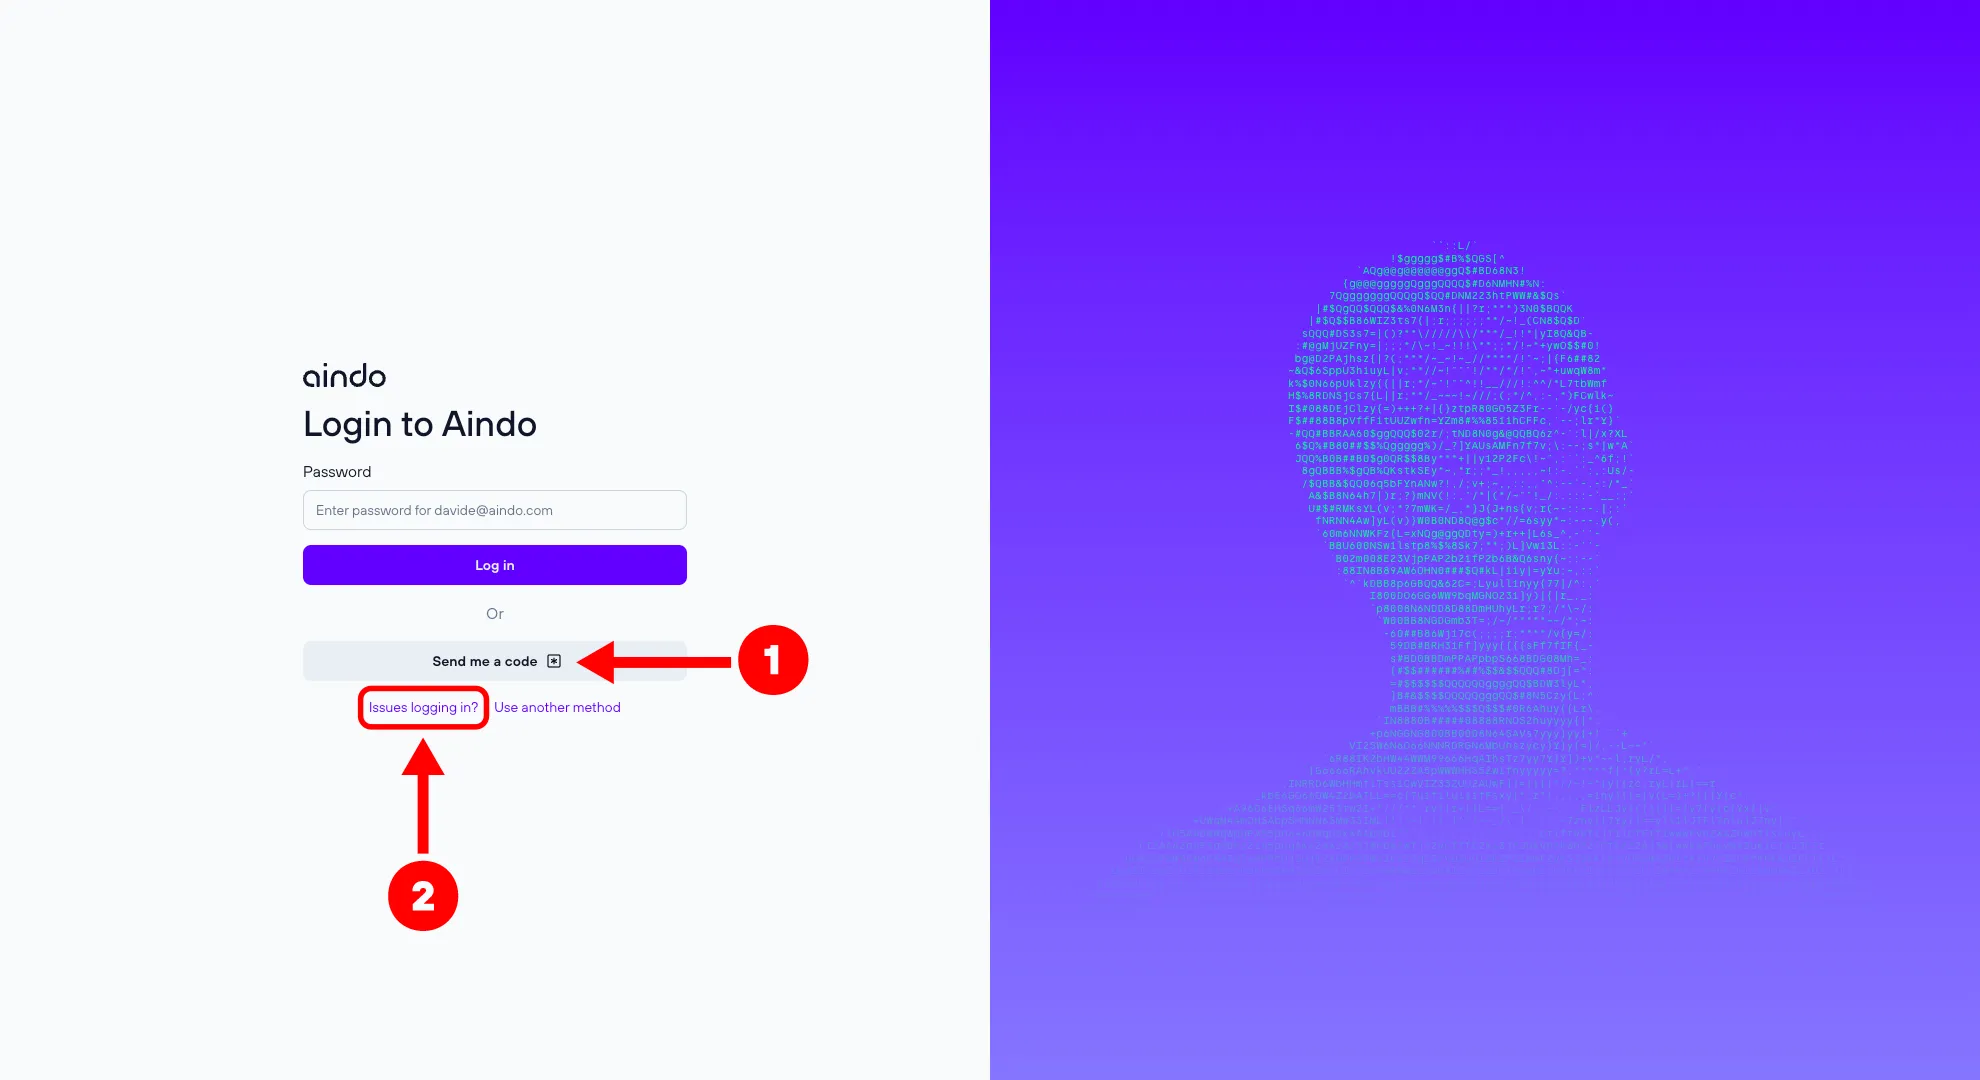
If you don’t remember the password you can choose to verify your identity with a One Time Password (OTP) (1) that will be sent to your email address or (2) simply choose to change password. In the second case, a recovery email containing a verification code will be sent to your inbox; enter the code together with a new password to regain access to your account.
The possibility to use an OTP instead of your password is an optional feature that may not be available in your deployment.
If you have Two-Factor Authentication (2FA) feature enabled you may be prompted with an additional step asking you to insert a One Time Code. Please refer to Two-Factor Authentication for more details on how to enable or disable this feature.
Forced password reset and expired passwords
After entering your credentials, you may be asked to set a new password before you can continue to the platform:
- If an admin required you to reset your password (see Manage users), you’ll see a message telling you that you need to set a new password before continuing.
- If your password has expired, you’ll see a message telling you that your password has expired and asking you to set a new one.
In both cases, choose and confirm a new password to proceed.

Login with social account
From the login page, click the sign-in button for your provider (for example Sign in with Google, Sign in with GitHub, or another provider configured for your deployment). If you are already logged-in with your provider, you will be automatically redirected to the home page of the Aindo platform. Otherwise, you will be redirected to the login page of your provider and you will be asked to insert your credentials.
If you have Two-Factor Authentication (2FA) feature enabled you may be prompted with an additional step asking you to insert a One Time Code. Please refer to Two-Factor Authentication for more details on how to enable or disable this feature.